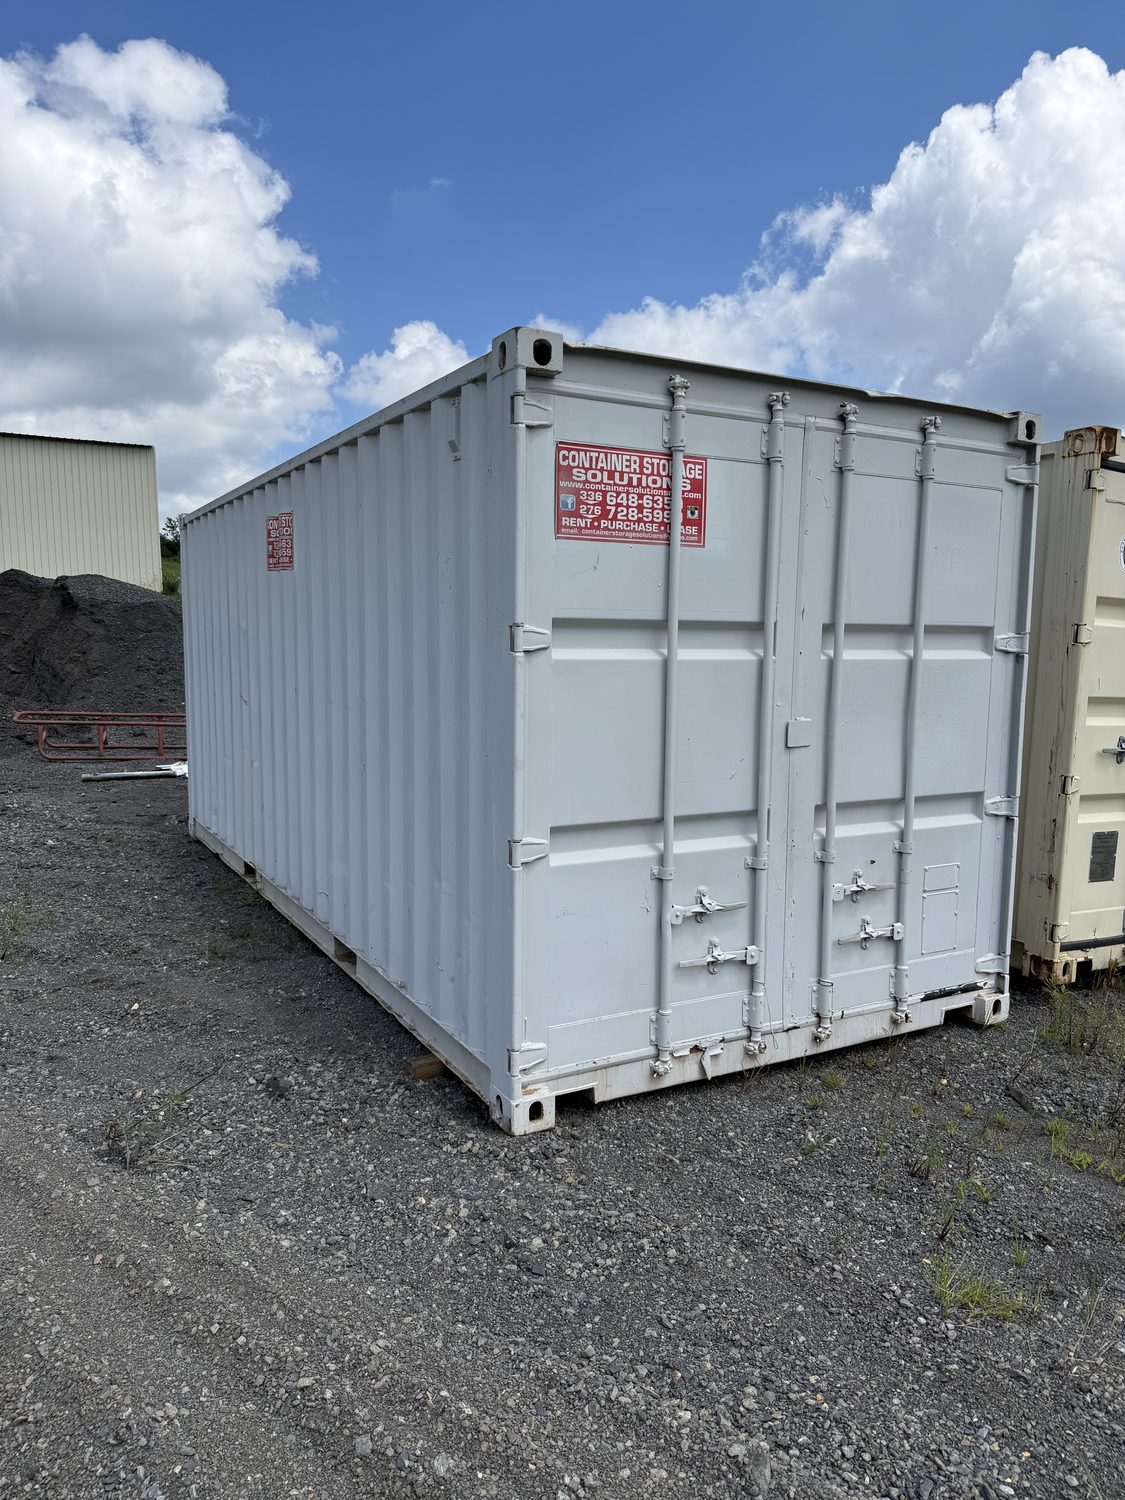
Can you turn a shipping container into a workshop? Yes, and it's one of the best things you can do with one. A 20 or 40-ft container gives you a dry, lockable, nearly indestructible shop shell that can be working the week it lands: the walls, roof, floor, and lockable doors are already built, so every dollar and every weekend goes into the parts you actually care about, power, light, benches, and a door you'll use a hundred times a day.
We build container workshops in our own Woodlawn fab shop, so this guide is the same walk-through we give folks on the phone: which shell to start with, which mods to add and in what order, what the box should sit on, and when the county wants a say.
Pick the shell
Size first. A 20-ft container gives you about 160 square feet, a tidy one-bench shop for woodworking, small engines, or a she-shed with a workbench. A 40-ft doubles that to roughly 320 square feet, which is real shop territory: a full bench wall, standing machines, and room to park the project itself. And if you'll ever want shelving up high or a taller work envelope, the 40-ft high-cube adds an extra foot of headroom and is the workshop favorite for exactly that reason.
Condition matters more here than it does for plain storage. A used cargo-worthy box keeps the weather out just fine, but for a space you'll spend hours in every week, a one-trip container, essentially new, with clean walls and an unmarked floor, is usually worth the difference. Our guide to container grades breaks down exactly what separates the two, so you can put the money where you'll feel it.
Think about orientation while you're at it. Set the box so the future man door faces the house or driveway, the shortest walk in the rain, and keep the electrical wall on the side nearest your power source, so the electrician's run stays short. Five minutes of planning before the truck arrives saves real money on the hookup later.
The mods, in build order
Here's the sequence we recommend, learned from a lot of builds in our modification shop. Cut steel early, finish late:
- Man door. A standard steel walk-in door with a lockset, cut into the side or the end. This is the mod people say changed everything, you stop wrestling the big cargo doors open in the cold and the dark, all winter long.
- Windows. Cut-in windows bring daylight and airflow, and a shop you can see in is a shop you'll actually use. Put one over where the bench will go.
- Electrical package. A panel, outlets down the walls, switches, and bright LED shop lights overhead, plus an exterior light by the door. We rough all of it in cleanly; a licensed electrician runs the feed from your house or pole and makes the final hookup.
- Vents and insulation. Louvered vents keep air moving, and spray foam or rigid panel insulation with a finished interior keeps the steel from sweating and swinging with the temperature. Together they kill container condensation and, with a small heater or mini-split, make the shop workable in January and July alike.
- Workbench and shelving. Welded benches, wall shelving, and pegboard, anchored straight to the steel. No studs to hunt for, and none of it will ever wobble.
- Roll-up door. If mowers, machines, or a project car will move in and out, a garage-style roll-up door turns the shop into a drive-in bay. Add an entry ramp and skip the lifting entirely.
You don't need all six on day one. Plenty of folks start with a man door and the electrical package, then add insulation before the first winter. If the shop will double as storage, the mower, the seasonal boxes, plan the shelving wall on one end and keep the bench under the windows and outlets. For a look at how finished builds come together, see our container workshops page.
What it sits on
A container workshop doesn't need a poured slab, one of its quietest advantages. It needs firm, level ground and support at the corners, which is exactly how we set every box we deliver: on blocks, leveled, doors swinging true. A shop door that won't latch is almost always a container that has settled out of level, so the ground is worth taking seriously before delivery day. A well-drained spot that doesn't hold water after a storm will keep the floor dry underneath and the doors true for decades. Our container foundation guide walks through the options from gravel pad to piers, and delivery with leveling is free within 75 miles of Woodlawn.
Permits and the county
A container parked as plain storage is one conversation with your county; a container that becomes a permanent, wired workshop is another. Many rural counties around here are easygoing, but once you add a permanent electrical hookup, most jurisdictions want a permit for the electrical work at minimum, that's the piece your licensed electrician handles and files. Setbacks from property lines and, in some areas, accessory-structure or zoning rules can apply too. Our guide Do I need a permit? shows how to get a straight answer from your county in one phone call, before the box lands.
Steel vs. stick-built
Could you frame a shop from scratch instead? Sure, but look at what the container already solved. The structure, roof, siding, floor, and lockable doors exist on day one, built from roughly 30-year Cor-Ten steel that won't rot, sag, or blow away. There's no foundation pour, no framing crew, no roofing day, and no months of weekends before you can plug in a saw. The build-out is the only project left, and most of it happens in our shop before the truck ever rolls.
That's the honest comparison: a stick-built shop is a construction project measured in months, while a container shop is a delivery followed by a short build-out, usually at a fraction of the total cost, and it can move with you on one truck if you ever relocate. Tell us what you'd build in it and we'll spec the shell and the mods together. Call (276) 237-6144 or send the quote form and we'll price it the same day.